
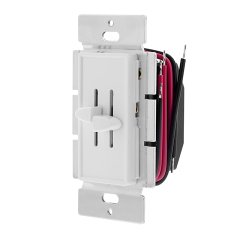
Wireless Tunable White LED Dimmer Switch for EZ Dimmer Controller
Part Number
EZD-VCT-WM
Features
- Flush mount design
- Battery powered
- Standard switchplate size
- Easy push on/off
| Dim Control | Control Type | Price | ||
|
Slide Control
|
In-line Wired
|
$32.99
ea.
|
|
|
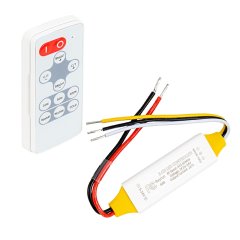
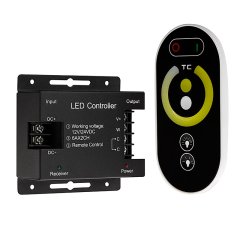
Remote Control
|
Handheld (RF) Remote
|
$29.99
ea.
|
|
|
|
Handheld (RF) Remote
|
$29.99
ea.
|
|
| Battery Type | 1 x CR2032 |
|---|---|
| Certifications/Compliance | CE, FCC |
| Channels | 4 Channels |
| Control Type | Handheld (RF) Remote |
| Finish | White |
| Input Connection Type | Pigtail |
| Radio Frequency | 868 MHz |
| Remote Range | Up to 98.4 ft (30 m) |
| Voltage | 3 VDC |
| Warranty | 3 Year |
superbrightleds.com reads and approves all reviews before listing them on the website. Below you will find a list of reasons that can result in your review being rejected.